Make this Sensory Craft Station at home! Read our instructions below or download our easy to follow guide here!
What you'll need:
toy fridge
chalk board paint
paint brushes, small and large
large wiggle eyes
3M velcro pieces and hooks
recycled milk or yoghurt vessels
metal baking tray
bulldog clips
masking tape
craft supplies to store in new craft station!
hot glue gun (optional)
How to make your Sensory Craft Station:
Assemble fridge. Place masking tape around the door frame and on the handles. Spray two coats of white undercoat paint on to the doors. Allow to dry.
Apply two coats of chalkboard paint to the doors. Once chalkboard paint is dry (16 hours to dry completely), paint handles and ice dispensing area using coloured exterior paint.
Attach two 3M hooks to one side of the fridge, roughly 2.5cm from the edges. Use tape to assist in attaching the hooks in a straight line. Then place a bulldog clip on each hook and clip sheets of paper to the hooks.
Take three milk bottles, wash and thoroughly dry each bottle. Cut the bottles in half around the centre. Re-dry the inside of each bottle and tape around the lip of each half bottle. Attach 3M velcro pieces to each bottle and then attach to the same side of the fridge, underneath the paper. Fill with markers, glue, collage paper and glitter.
Attach 3M velcro to the top corners of a metal baking tray and attach to the other side of the fridge. Place the remaining 1/2 milk bottles on the same side of the fridge, underneath the tray using the 3M velcro pieces. Place magnetic letters on the baking tray and inside the 1/2 bottle containers.
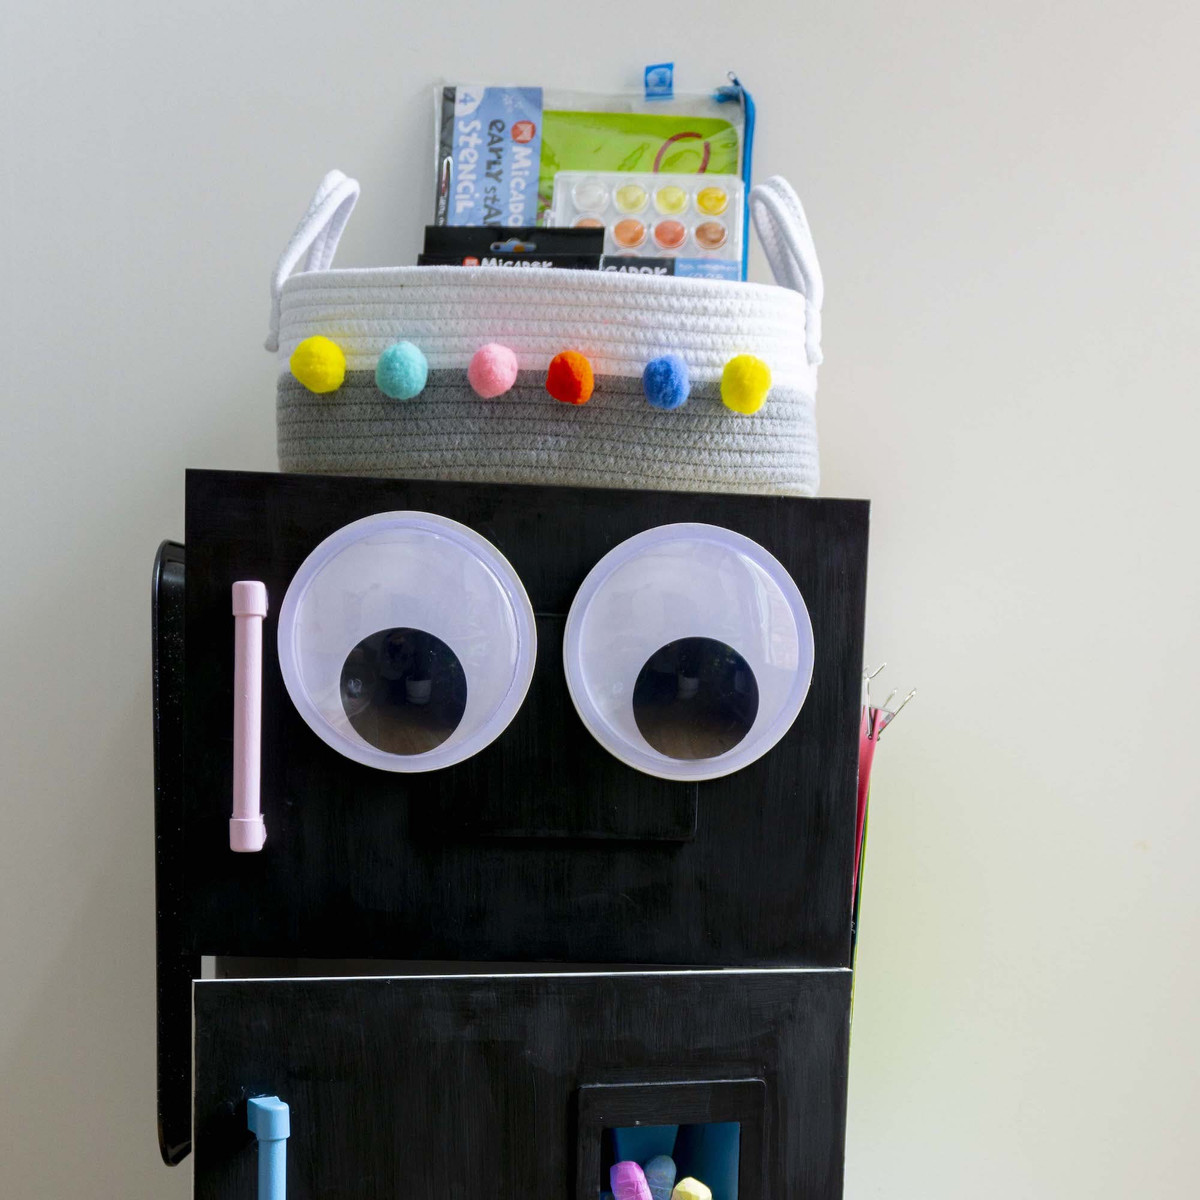
Hot glue gun pom poms onto assorted baskets and fill baskets with craft goodies. Place inside your child’s new Sensory Craft Station. Lastly, attach giant wiggle eyes to the fridge door with 3M velcro.
